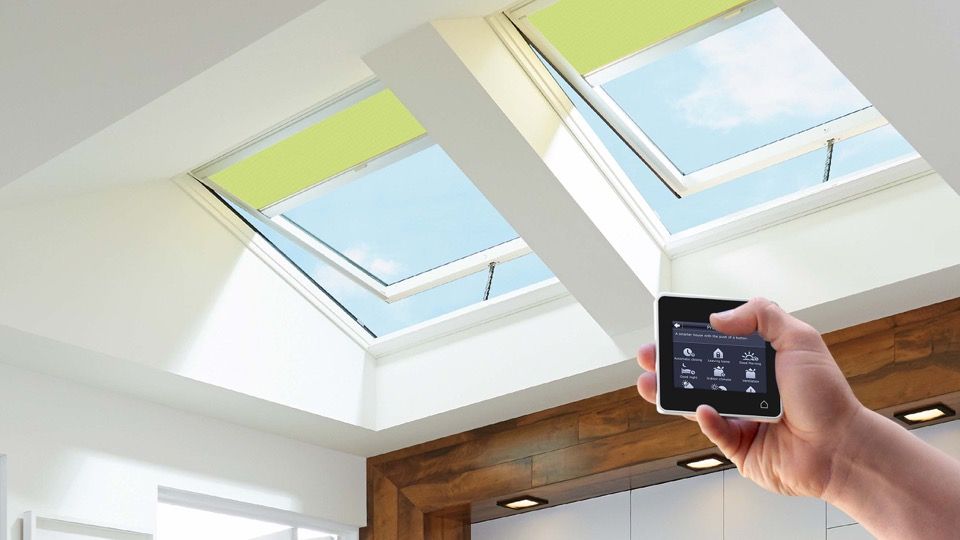
In times of modern home automation, convenience and comfort have become the pillars upon which innovation stands.
Among the array of devices designed to enhance the living experience, Velux remote-controlled windows stand out as a pinnacle of intelligent design.
Offering not only the luxury of remotely controlling windows but also integrating seamlessly into smart home ecosystems, these devices epitomize the marriage of functionality and sophistication.
However, to truly harness their potential, understanding and programming the Velux remote control is essential.

Understanding Velux Remote Control System
Velux remote control systems empower users to operate their windows with ease, whether they are high on a vaulted ceiling or in hard-to-reach places. They typically consist of a handheld remote control unit and a receiver installed within the window mechanism. The remote communicates with the receiver using wireless signals, allowing users to open, close, or adjust the position of their windows effortlessly.
Benefits of Programming Your Velux Remote
Programming your Velux remote control opens up a world of possibilities, enhancing both convenience and efficiency in managing your home environment. Here are some key benefits:
- Customized Settings: Programming enables you to set specific opening angles or positions tailored to your preferences. Whether you want to allow a gentle breeze to enter or maximize natural light without glare, you can configure your windows accordingly.
- Scheduled Operations: With programming, you can schedule automatic opening and closing times for your windows. This feature is particularly beneficial for ventilation, allowing fresh air to circulate at preset intervals, even when you’re not at home.
- Integration with Smart Home Systems: Many Velux remote controls are compatible with popular smart home platforms like Amazon Alexa or Google Assistant. By programming your remote to synchronize with these systems, you can control your windows using voice commands or incorporate them into automated routines along with other smart devices.
- Enhanced Security: Programming can include security features such as timed closing, ensuring that your windows are securely shut at night or when you’re away, providing peace of mind and protecting your home against intruders.
How to Program Your Velux Remote Control
While the specifics may vary depending on the model of your Velux remote control, the general process for programming remains consistent. Here’s a step-by-step guide:
Step one. Reset the window.
To begin the process of resetting your remote control, start by resetting your window. Begin by manually opening your window. If there are any additional products like blinds, ensure that they are also open.
Once the window is open, press and hold the reset button for a minimum of five seconds. This action will initiate movement in your window and other installed products, indicating that the reset was successful. If the window does not start moving, continue to press and hold the reset button until it does.
Step two. Turn off the power
Now that the window has been reset and is stationary, close it. After closing, ensure that the power is completely turned off. If you have multiple windows, repeat step one for each window before powering off.
Step three. Reset the remote
With the window reset, proceed to reset the remote control. Remove the battery cover and press the reset button using a pointed object, such as a small screwdriver, for at least five seconds. Once done, replace the battery cover and flip the remote over.
Step four. Resynchronize your windows
Upon completing step three, a prompt will appear on your VELUX remote asking if you wish to reset the remote control. Press the affirmative button. While the system resets, the VELUX logo will display on your remote. Once finished, you will be prompted to select your language and power on.
By pressing the forward arrow to proceed, the remote will search for and resynchronize with your VELUX window.
Step five. Test and enjoy
After following the instructions on your VELUX remote, your windows and remote will be synchronized once more.
Take a few minutes to test and ensure that your remote is functioning correctly. If any issues arise, repeat the steps until the remote and window are synchronized.
Conclusion
By following this straightforward guide, resetting your VELUX remote should be a simple and efficient process.
Programming your Velux remote control is a gateway to unlocking the full potential of your smart windows, offering personalized control, enhanced automation, and peace of mind.
By understanding the features and following the programming instructions provided by Velux, you can tailor your windows to suit your lifestyle and create a more comfortable, efficient living environment.
Contact Yorkshire Roof Windows today for a personalised quote if you are based in the Scarborough or York area.
Whether you’re embracing the latest in home automation or simply seeking greater convenience, programming your Velux remote control is a step towards a smarter, more connected home.


