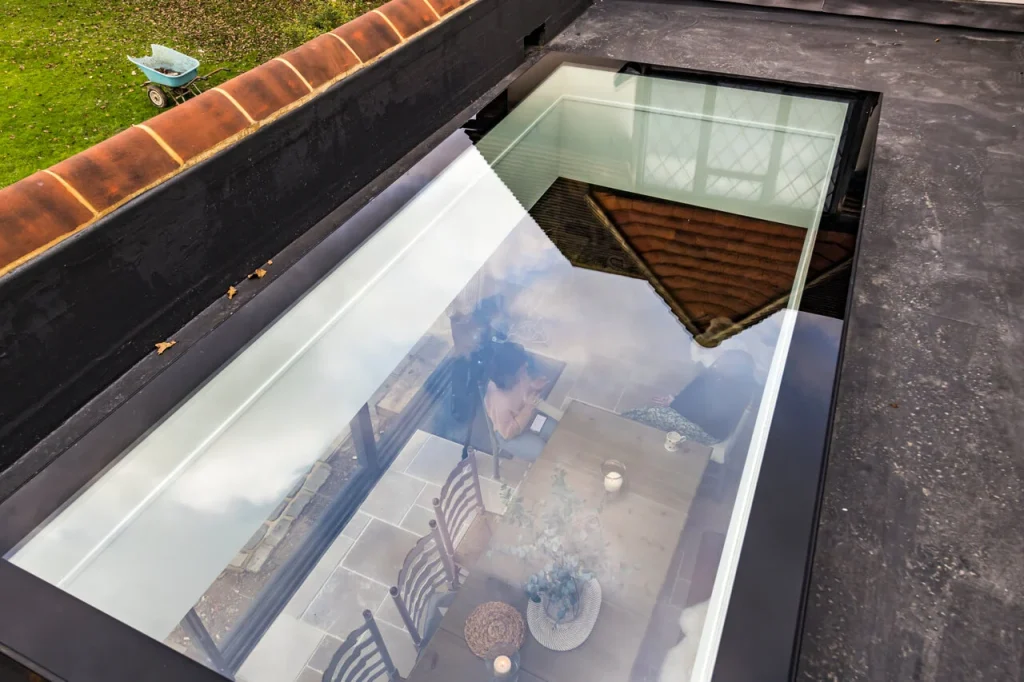
Velux windows make a fantastic addition to any home, offering natural light, ventilation, and a stylish, modern look. Like all hardware, the handles on Velux windows can wear out or break over time due to regular use. A faulty handle can make it difficult to open or close your window properly, and replacing it promptly can help you maintain function and security.
Fortunately, you don’t need to hire a professional to replace your Velux window handle. With a few tools and some patience, most homeowners can handle it on their own. Please check out a simple, step-by-step DIY guide to help you through it:
What will You Require?
Before you start, you need to bring the following tools and materials:
- A replacement Velux handle to ensure that it’s the correct model
- A Phillips or flathead screwdriver, depending on your window model
- A step stool or ladder, if the window is out of reach
- Optional safety gloves and a drop cloth
Identify Your Window Type and Handle Model
Velux produces a comprehensive range of windows, so before purchasing a new handle, you need to identify your window’s model code. This code is usually located on a metal plate on the top edge of the sash.
Having the right model number ensures that you buy the right replacement part. Once you’ve found the model, you can place an order for the appropriate handle either from Velux directly or from an authorised dealer.
Open the Window Completely
If you want to make the replacement easier, you should open the Velux window fully. Depending on your model, you might have to press the control bar or unlock the handle before swinging the window open. You should lock the window in position or ensure that it stays stable while you work.
Remove the Broken or Old Handle

You can use your screwdriver to remove the screws that secure the old handle in place. Most Velux handles are connected with two screws, easily accessible once the window is fully open. You need to carefully place the screws aside; which you may need them for the new handle.
Once the screws are removed, you need to gently pull the handle away from the sash. If it’s stuck due to paint or dirt buildup, you can wiggle it slightly or use a flathead screwdriver to pry it off carefully.
Clean the Mounting Area
Before installing the new handle, you can take a moment to clean the mounting surface. You should remove any dust, old adhesive, or debris. This ensures that the new handle matches flush and works smoothly.
Install the New Handle
You need to position the new handle where the old one was and align the screw holes with the sash. You can insert the screws and tighten them securely with your screwdriver. You should be careful not to overtighten, as this could damage the sash or the new handle.
Test the Handle
Once the handle is installed, you can test it by opening and closing the window multiple times. You should ensure that it latches smoothly and locks into place securely. If the window feels stiff or the handle doesn’t sit flush, you need to check the alignment and screw tightness thoroughly.
Final Consideration
Replacing a Velux window handle is a simple DIY task that can save you time and money. With just a few tools and the right replacement part, you can restore your window’s functionality within minutes.
Regular maintenance and prompt repairs like this can help extend the lifespan of your Velux window and keep your home comfortable and secure. If you need professional assistance with Velux window replacement, please contact Yorkshire Roof Windows today at 07572 814560.


