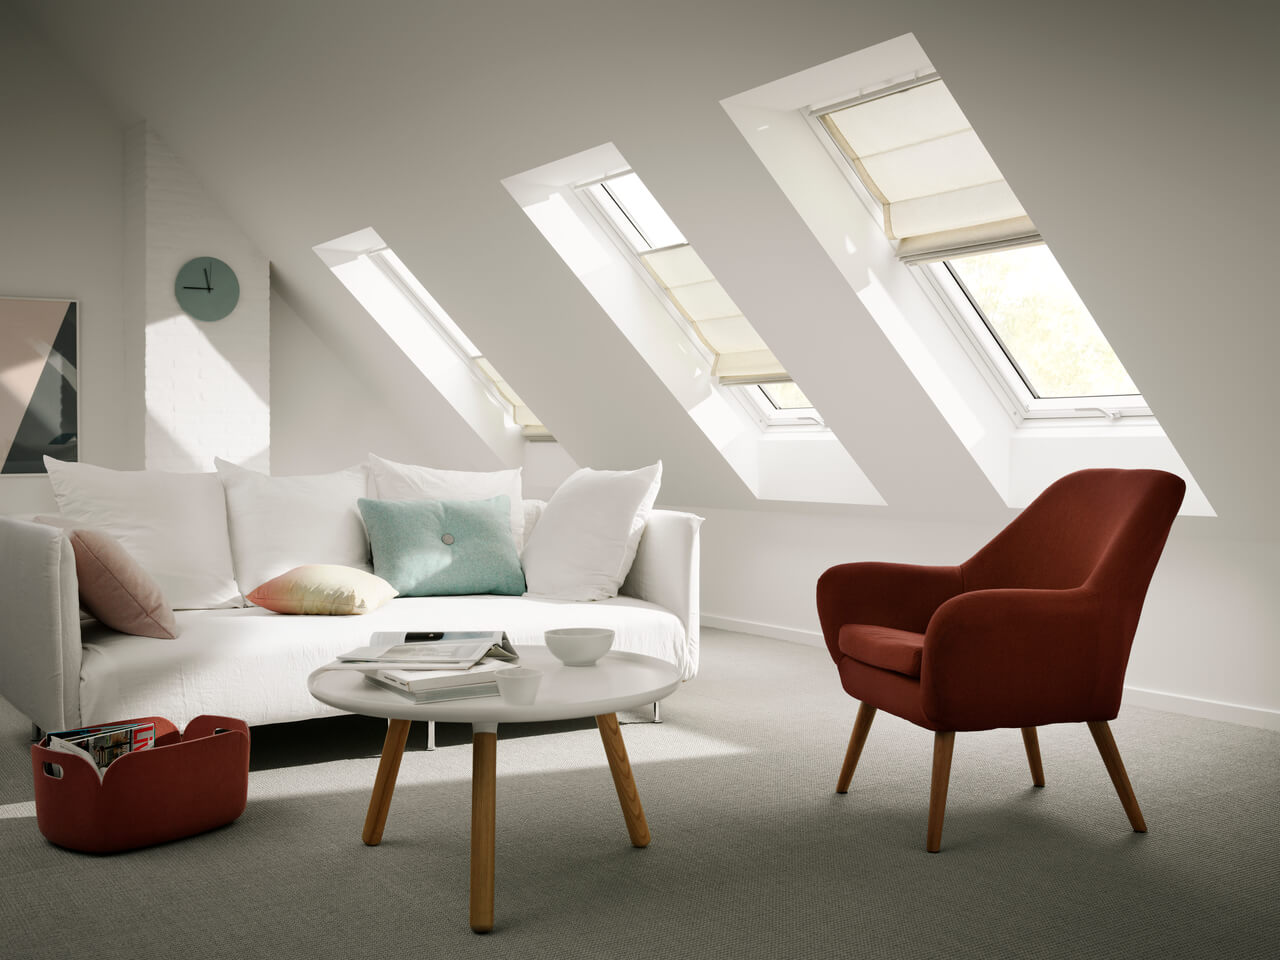
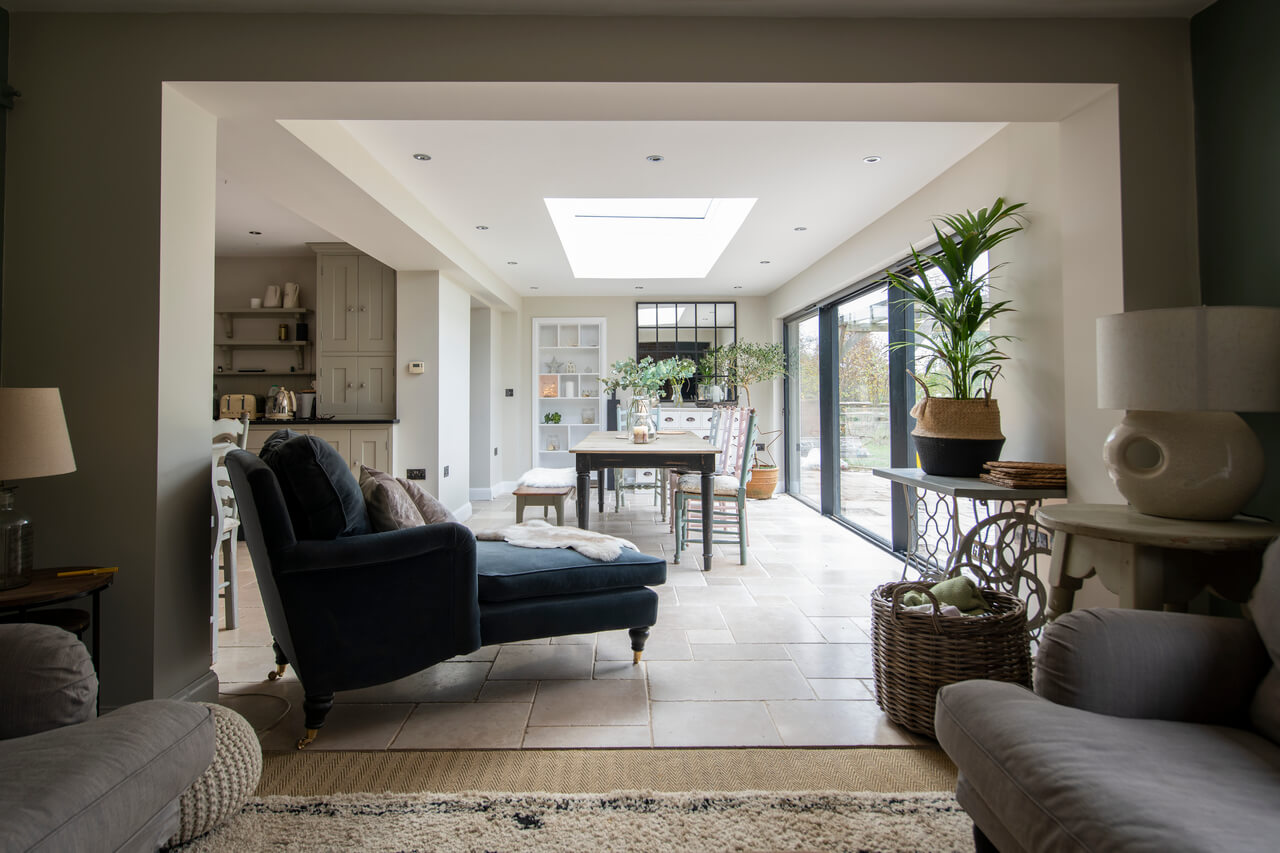
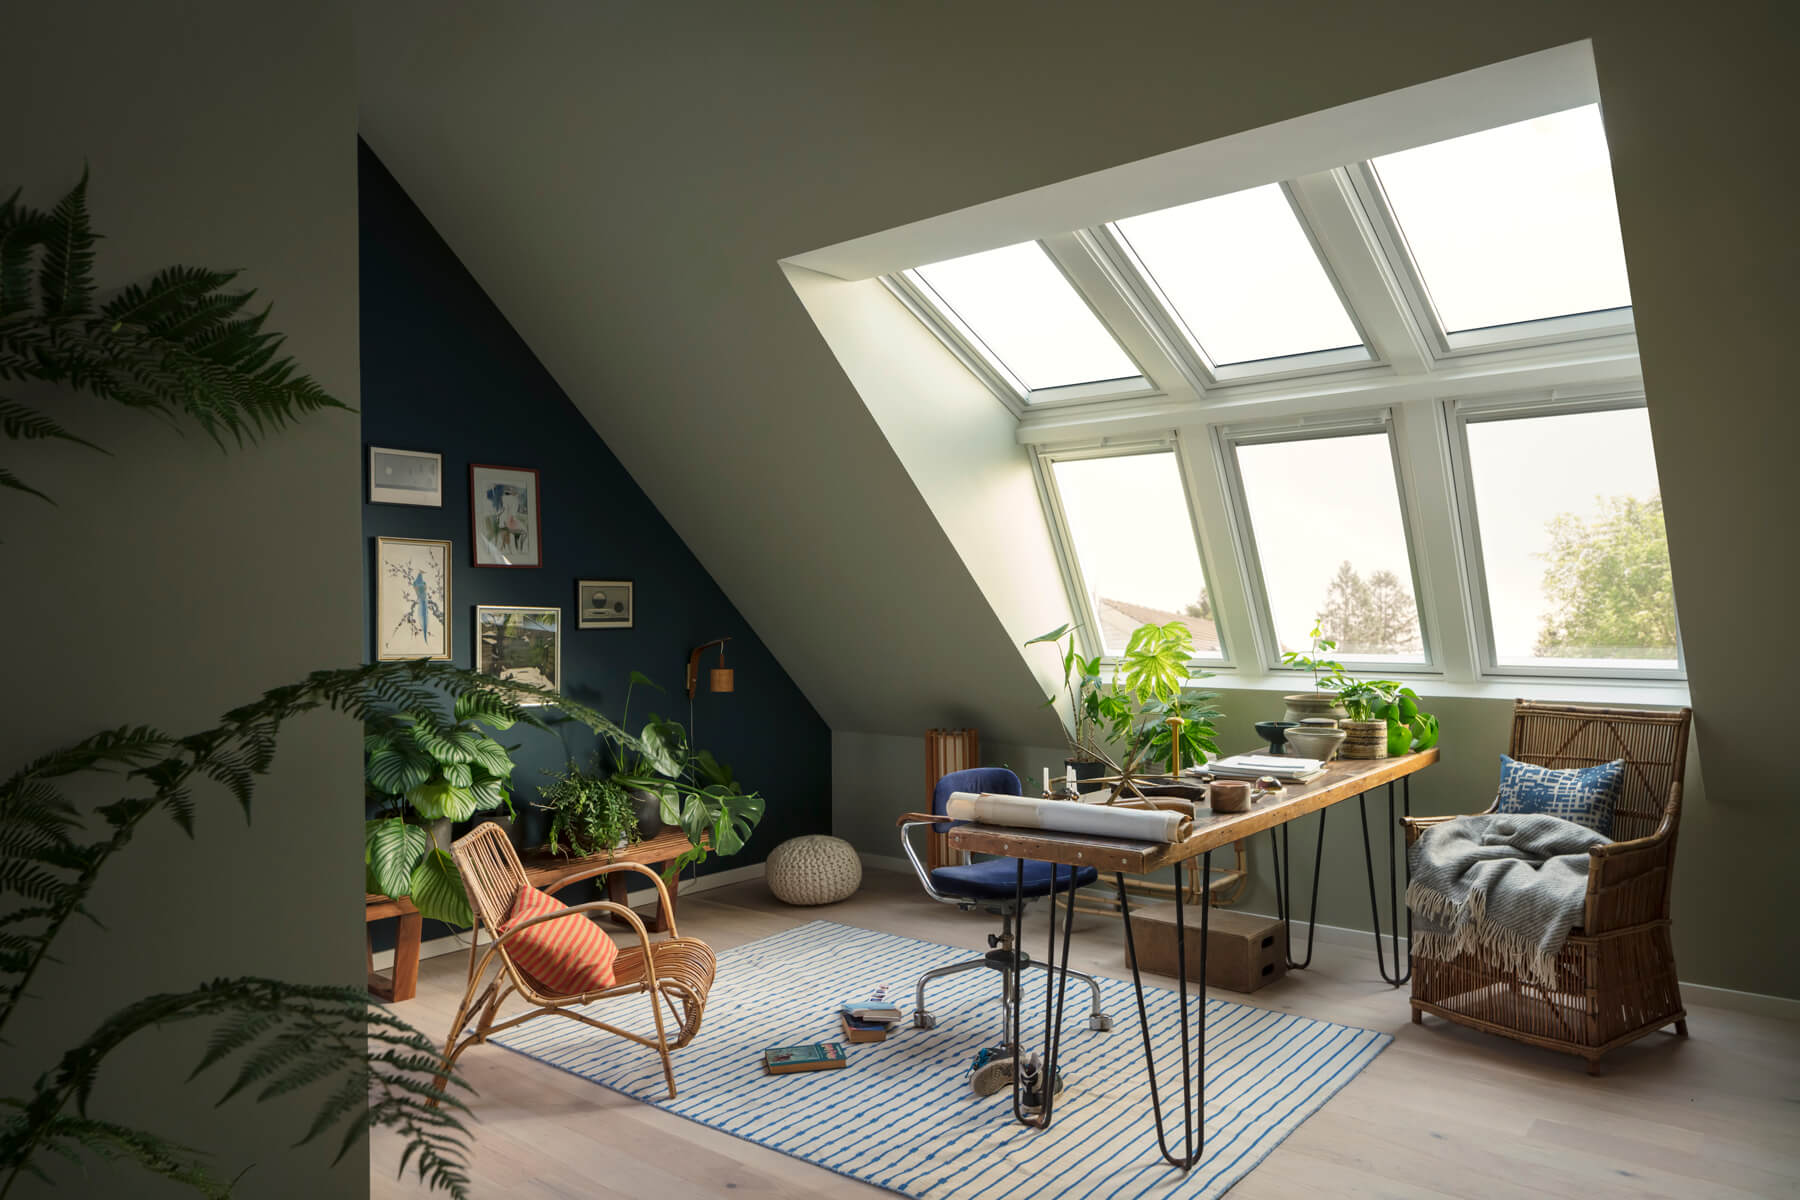
If you’re considering brightening your home with a Velux roof window, you’re in the perfect place. Serving East Yorkshire, North Yorkshire, and parts of Humberside, we’re passionate about helping you transform your living space. This step-by-step guide provides all the information you need to complete this rewarding DIY project. Remember, safety is key—if you’re ever unsure, don’t hesitate to contact us!
Step 1: Gather Your Tools and Materials
Before starting, ensure you have everything you need to avoid delays. Here’s a handy checklist:
Tools:
- Measuring tape (for accurate dimensions)
- Level (to ensure perfect alignment)
- Pencil (to mark measurements)
- Hammer (for securing frames and flashing)
- Circular saw or handsaw (to cut roof decking and timber)
- Screwdriver (for fastening screws)
- Utility knife (for trimming insulation and flashing)
- Safety goggles and gloves (for personal protection)
Materials:
- Velux roof window kit (includes window and hardware)
- Flashing kit (specific to your roof type for waterproofing)
- Insulation (to improve energy efficiency)
- Timber battens (for frame construction)
- Sealant (for watertight edges)
Step 2: Planning and Measuring
Proper planning ensures a smooth installation process.
- Choose the Location: Pick a spot on your roof that maximizes light while avoiding obstructions like chimneys or trees. South-facing windows capture the most sunlight.
- Measure the Opening: Use the manufacturer’s specifications to mark the correct dimensions for the window. Precision at this stage prevents complications later.
Step 3: Prepare the Roof Structure
Once you’ve chosen the location and measured, it’s time to prepare the roof.
- Mark the Opening: Use a pencil to outline the dimensions on the roof.
- Cut the Decking: Carefully cut along the markings with a saw, ensuring you avoid damaging rafters or other structures.
Step 4: Install the Frame
A sturdy frame is critical to support your Velux window.
- Build the Frame: Use timber battens to construct a frame that fits snugly into the opening. Ensure it’s level and square.
- Secure It: Fasten the frame to the roof with screws. Double-check for stability.
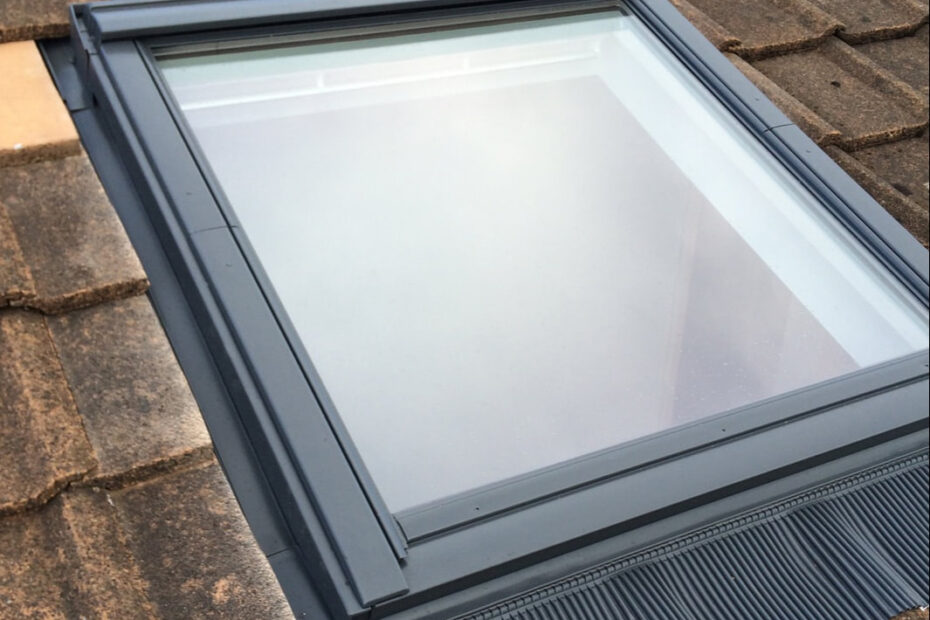
Step 5: Fit the Velux Window
- Position the Window: Carefully place the window in the frame, ensuring alignment.
- Secure It: Follow the kit’s instructions to fasten the window in place. Verify it’s level and functional.
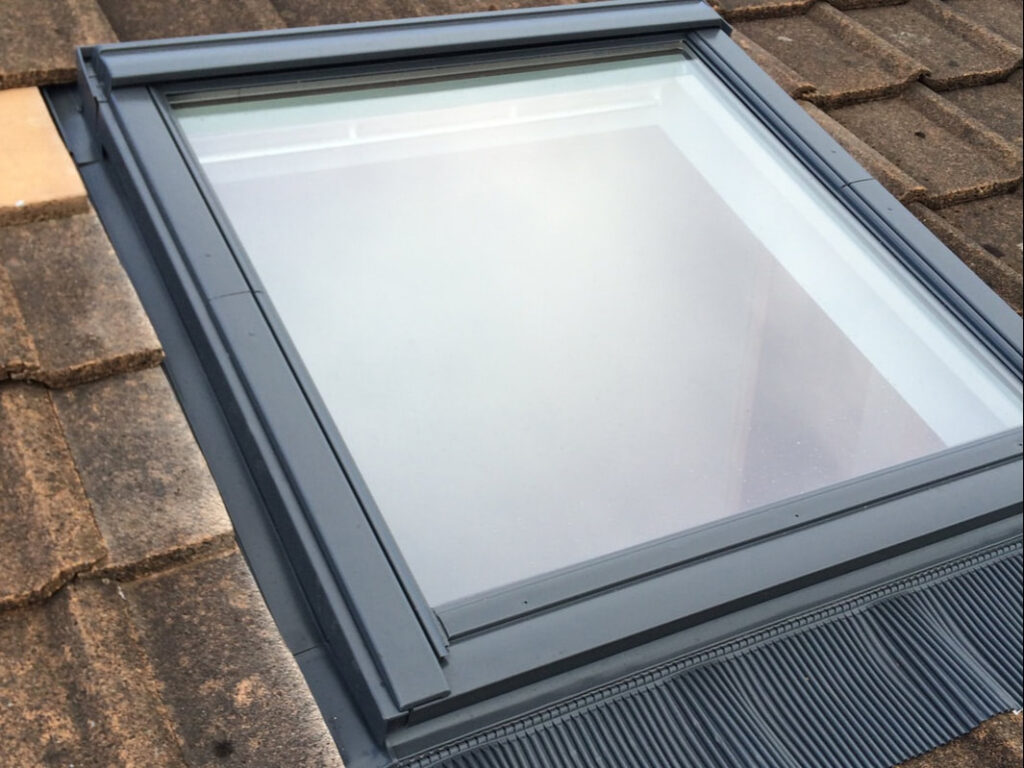
Step 6: Install the Flashing Kit
- Apply the Flashing: Follow the provided instructions to install flashing around the window, ensuring a waterproof seal.
- Seal the Edges: Use sealant to prevent leaks, focusing on corners and joints.
Step 7: Insulate the Window
- Add Insulation: Fill gaps around the window with insulation to enhance energy efficiency.
- Seal Gaps: Check for any air leaks and seal them as needed.
Step 8: Final Touches
- Interior Finishing: Add trim or molding inside to complement your decor.
- Clean Up: Clear tools and debris, ensuring the window operates smoothly.
Safety and Working at Height: Essential Considerations for Installing a Velux Roof Window
When it comes to installing a Velux roof window, safety should always be your top priority. Working at height presents unique challenges and risks, but with the right precautions and knowledge, you can ensure a safe and successful installation. Here are some key safety tips and considerations to keep in mind during your DIY project.
1. Assess Your Skills and Experience
Before you begin, honestly evaluate your skills and experience with DIY projects, particularly those involving heights. If you’re not completely confident in your ability to safely install a roof window, it’s wise to consult with or hire a professional. Remember, it’s always better to be safe than sorry!
2. Use Proper Safety Gear
Wearing the right safety gear is crucial when working at height. Ensure you have the following equipment:
– Safety Helmet: Protects your head from falling objects or accidental bumps.
– Non-Slip Footwear: Wear shoes with good grip to prevent slipping on the roof surface.
– Safety Goggles: Protect your eyes from debris, dust, and any chemicals you might be using.
– Gloves: Use sturdy gloves to protect your hands while handling tools and materials.
3. Set Up a Secure Work Area
Creating a safe work environment is essential. Here are some steps to follow:
– Clear the Area: Remove any debris, tools, or loose materials from the roof area where you’ll be working.
– Use a Stable Ladder: Ensure your ladder is sturdy and tall enough to give you safe access to the roof. Always place it on a flat, stable surface and avoid leaning it against unstable structures.
– Employ a Scaffolding System if Needed: If the roof is particularly steep or high, consider using scaffolding for extra stability and safety.
4. Use Fall Protection Equipment
When working at greater heights, it’s important to consider fall protection measures:
– Safety Harness: If you’re working on a particularly steep or high roof, a safety harness connected to a secure anchor point can prevent falls.
– Guardrails or Safety Nets: If possible, install temporary guardrails or safety nets to provide additional protection while you work.
5. Be Aware of Weather Conditions
Weather can significantly impact your safety when working at height:
– Avoid Wet or Windy Days: Rain can make roofs slippery, and high winds can destabilize ladders and scaffolding. Check the weather forecast and choose a dry, calm day for your installation.
– Watch for Extreme Temperatures: Hot weather can lead to heat exhaustion, while cold weather may increase the risk of slips and falls. Dress appropriately and take regular breaks to stay hydrated and avoid fatigue.
6. Work with a Partner
If possible, enlist a friend or family member to assist you during the installation. Having someone nearby can provide extra safety and support. They can help hold the ladder, pass tools, or call for help if needed.
7. Follow Manufacturer Instructions
Always refer to the manufacturer’s guidelines for installation. These instructions are designed to ensure not only the proper function of your Velux window but also your safety during the installation process. Adhering to these guidelines can help you avoid mistakes that could compromise both the installation quality and your safety.
8. Know Your Limits
Recognize when a task is beyond your skill level. If you encounter unexpected challenges, such as complex roof structures or structural issues, it’s better to seek professional help rather than risk injury or improper installation.
Installing a Velux roof window can be a rewarding DIY project that enhances your home with natural light and improved aesthetics. However, safety must be your primary concern when working at height. By following these safety guidelines and using the proper equipment, you can minimize risks and ensure a smooth installation process.
Embrace the light, but remember to stay safe! Happy DIYing! 🏡✨
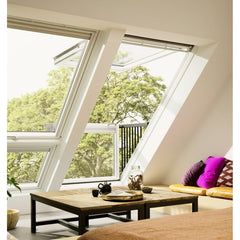
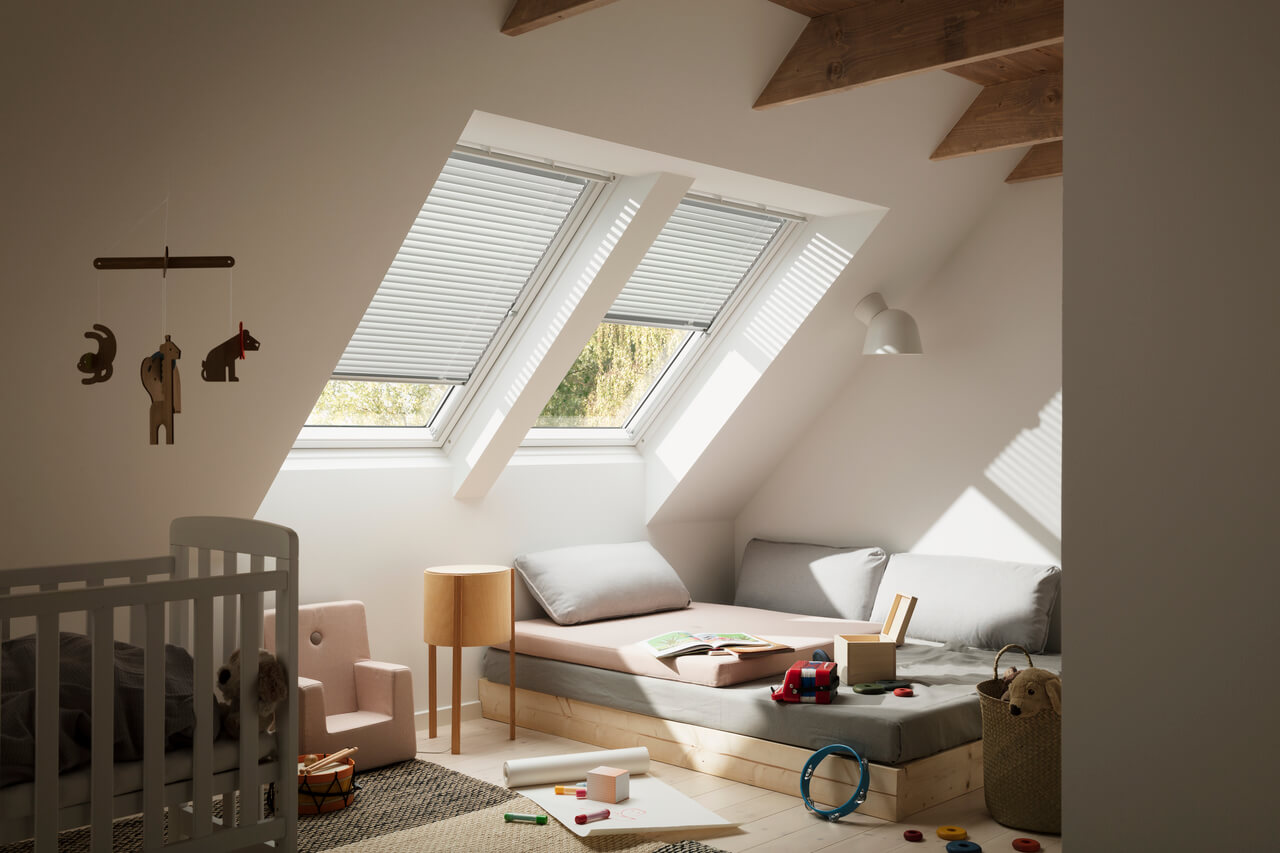
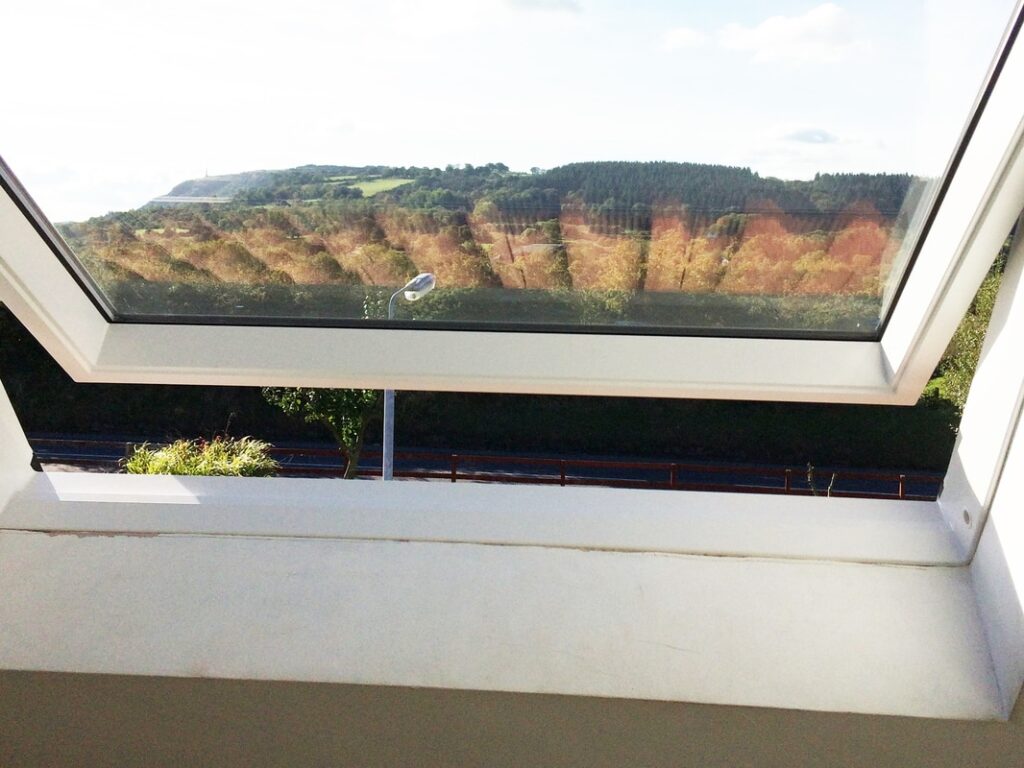
Congratulations! You’ve successfully installed your Velux roof window, inviting beautiful natural light into your home and enhancing your living space. Not only does this installation elevate your home’s atmosphere, but it also adds value to your property and improves energy efficiency.
If you encounter any challenges during the installation process or if you have any questions, remember that professional assistance is just a call away. At Yorkshire Roof Windows, we’re here to help you with any aspect of your roof window project, from installation to maintenance.
For more information and inspiration, visit our website at yorkshireroofwindows.co.uk Here’s to enjoying the beauty and brightness that Velux roof windows bring to your home!