Yorkshire Roof Windows stands as a beacon of excellence. Specializing in providing top-notch Velux centre pivot window solutions.
Among its array of offerings, Velux windows have gained significant popularity owing to their quality, durability, and versatility. However, like any other mechanical component, Velux windows may require adjustments over time to ensure optimal performance.
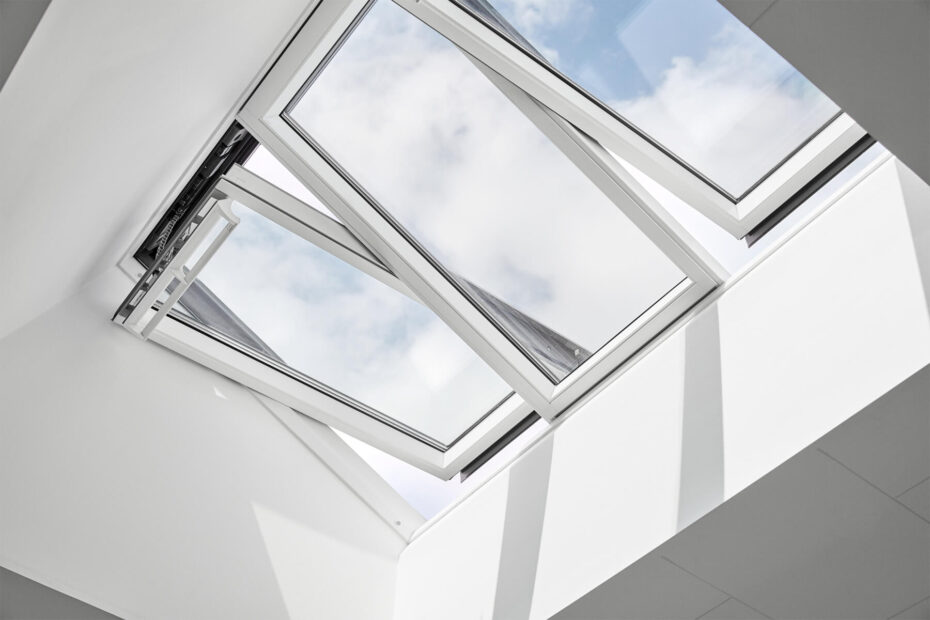
Understanding Centre Pivot Velux Windows: Centre pivot Velux windows are renowned for their innovative design, which allows them to pivot around a central point for easy opening, closing, and ventilation.
This design feature not only enhances functionality but also simplifies maintenance and adjustments. Whether you’re dealing with a minor alignment issue or seeking to fine-tune the operation of your Velux windows, understanding the adjustment process is key to preserving their efficiency and longevity.

Step-by-Step Adjustment Guide:
- Assess the Situation: Before attempting any adjustments, carefully inspect the window to identify the nature of the problem. Common issues include misalignment, stiffness in operation, or difficulty in closing/opening.
- Access the Adjustment Points: Velux windows are equipped with accessible adjustment points that allow for precise alterations. Typically, these points are located along the window frame or within the control bar mechanism.
- Loosening or Tightening Screws: Depending on the specific issue, you may need to loosen or tighten screws to achieve the desired adjustment. Use a suitable screwdriver to make incremental changes, ensuring not to over-tighten to avoid damaging the components.
- Aligning the Window: If the window appears misaligned, gently maneuver it into the correct position while ensuring that it remains parallel to the frame. Gradually tighten the screws to secure the adjustment.
- Lubrication: In cases where the window exhibits stiffness or resistance during operation, applying a silicone-based lubricant to the hinges and moving parts can help restore smooth functionality.
- Testing: Once adjustments have been made, test the window’s operation by opening and closing it several times. Pay attention to any signs of improvement or persisting issues that may require further adjustments.
- Professional Assistance: If despite your efforts, the issues persist or if you’re unsure about performing adjustments yourself, don’t hesitate to seek professional assistance from Yorkshire Roof Windows. Their team of experienced technicians can diagnose and resolve complex issues with precision and efficiency.
Maintenance Tips for Long-Term Performance:
- Regular Cleaning: Keep the window and its components clean from dirt, debris, and buildup to prevent interference with its operation.
- Inspect Seals and Gaskets: Periodically check the condition of seals and gaskets to ensure proper insulation and weatherproofing.
- Monitor for Signs of Wear: Stay vigilant for any signs of wear or damage to the window components, such as cracks, rust, or corrosion, and address them promptly.
With Yorkshire Roof Windows at the helm, residents can rest assured that their roofing needs are in capable hands, backed by a legacy of excellence and commitment to customer satisfaction.